Processors¶
Source PDF page(s): 26 (of raw/specs/MMS features v2.5.pdf)
User Guide section: §2.5 (of raw/specs/MMS_UserGuide_v2.5.0.0.docx)
Summary: Manage centralized payment processor configurations — define processor identity, interface settings, and BIN routing tables — for reuse across base templates.
Status: shipped
Why¶
Payment processors must be consistently configured across templates and terminals. Centralizing processor records prevents duplication and enables template-level customization. See ../specs/mms-features-v2.5 §4 and ../specs/mms-userguide-v2.5 §2.5.
What¶
- Centralized payment-processor records reusable across base templates.
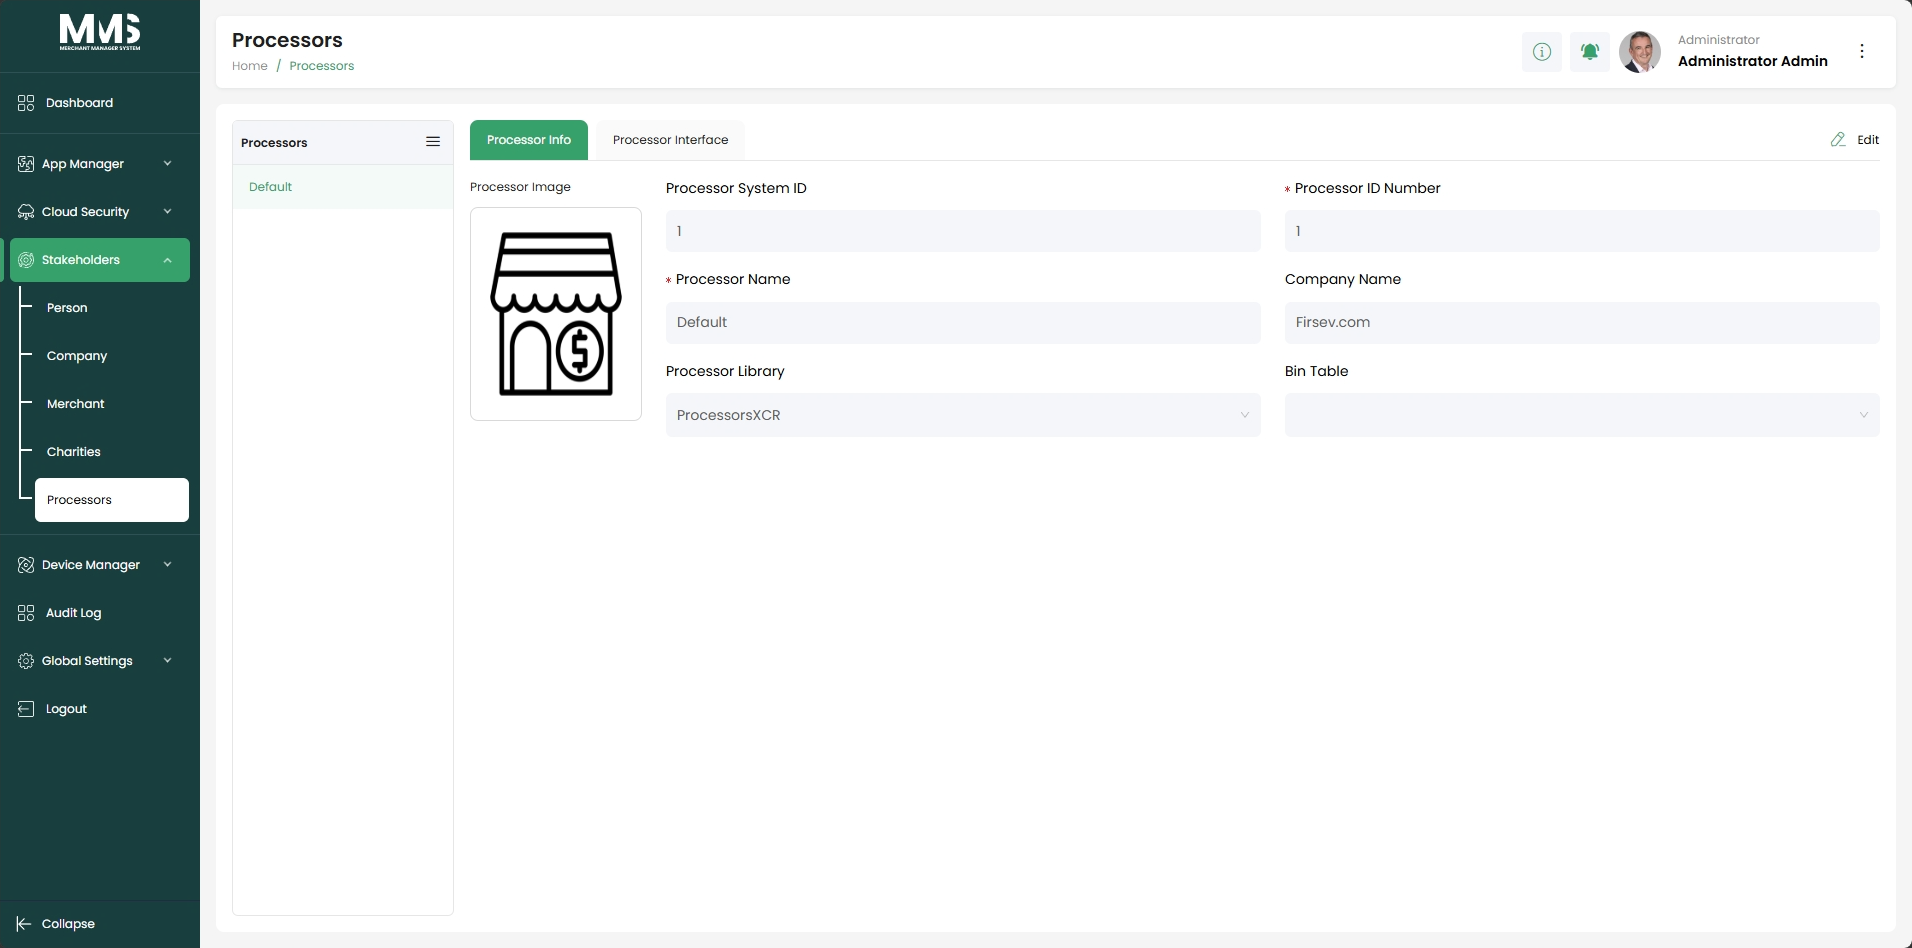
- Processor Info tab: processor name, system ID, company name; logos/reference images.
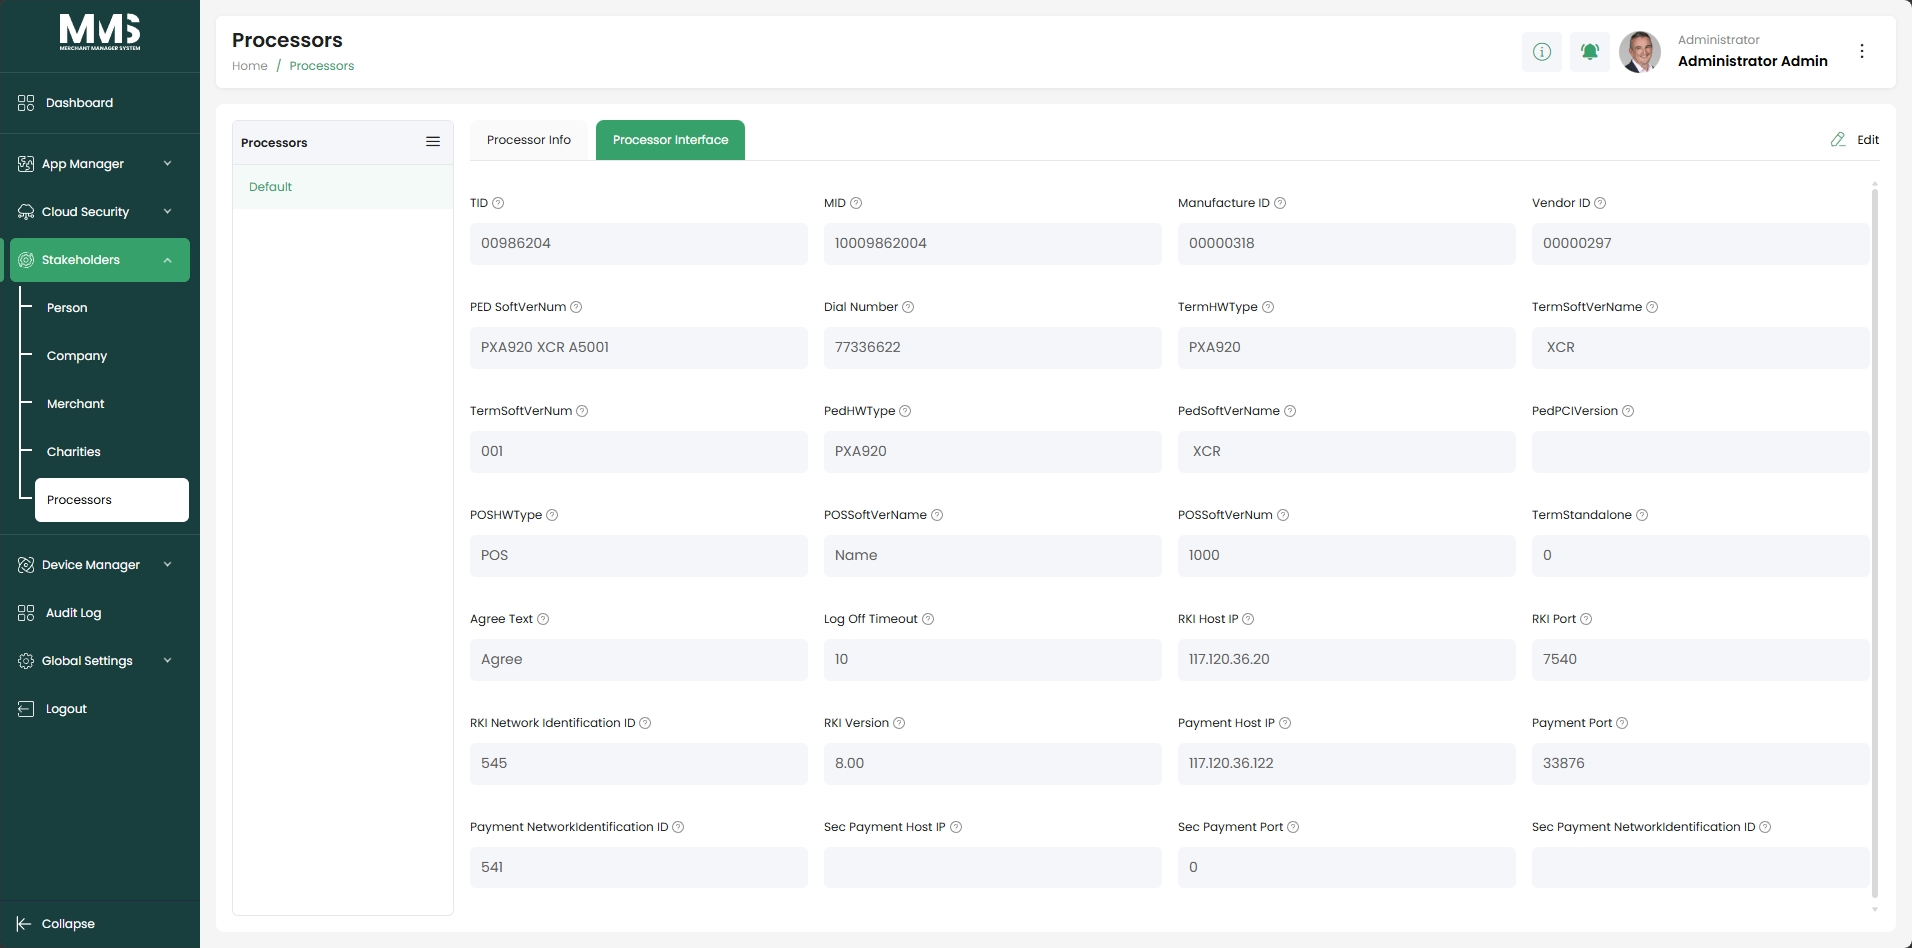
- Processor Interface tab: processor libraries and numbers; BIN tables for card routing; network, software, and terminal-related settings.
- Override processor settings per template for company-specific customization.
Steps¶
Create a processor¶
- Navigate to the Processors page.
- View the list of existing processor records.
- Expand the Menu icon and click Add.
- In the Processor Info tab:
- Enter processor name, system ID, and company name.
- Upload processor logos or reference images (optional).
- In the Processor Interface tab:
- Configure processor libraries and processor numbers.
- Configure BIN tables for card routing.
- Set network, software, and terminal-related settings.
- Click Save.
Update or use a processor¶
- Select an existing processor from the list.
- Update as needed:
- Processor Info: edit basic details.
- Processor Interface: update integration and routing configurations.
- Click Save.
- Reference the processor record within a template — it is used as a global data source and can be overridden per template.
Linked pages¶
- stakeholders — parent overview page
- ../specs/mms-userguide-v2.5 — User Guide §2.5
- ../specs/mms-features-v2.5 — Features doc §4
- app-manager — Processors feed base templates
Screenshots¶
Status history¶
- 2026-05-27 — capabilities ingested from features doc v2.5 (Processors "Completed") → shipped
- 2026-06-03 — step-by-step user guide added from
raw/specs/MMS_UserGuide_v2.5.0.0.docx§2.5; page split fromstakeholders.md