Select Linked Merchant Device¶
Source PDF page(s): (not in MMS features v2.5.pdf — first documented in User Guide)
User Guide section: §3.2.5 (of raw/specs/MMS_UserGuide_v2.5.0.0.docx)
Summary: Select and assign devices to a Linked Merchant Group — scoping devices to a named merchant grouping within a location using the Linked Merchant Filter view.
Status: shipped
Why¶
When working with Linked Merchant Groups, devices need to be explicitly selected for a specific group rather than assigned broadly to a location. This flow provides that targeted assignment. See ../specs/mms-userguide-v2.5 §3.2.5.
This feature was not documented in the features overview PDF. First documented in User Guide v2.5.0.0.
What¶
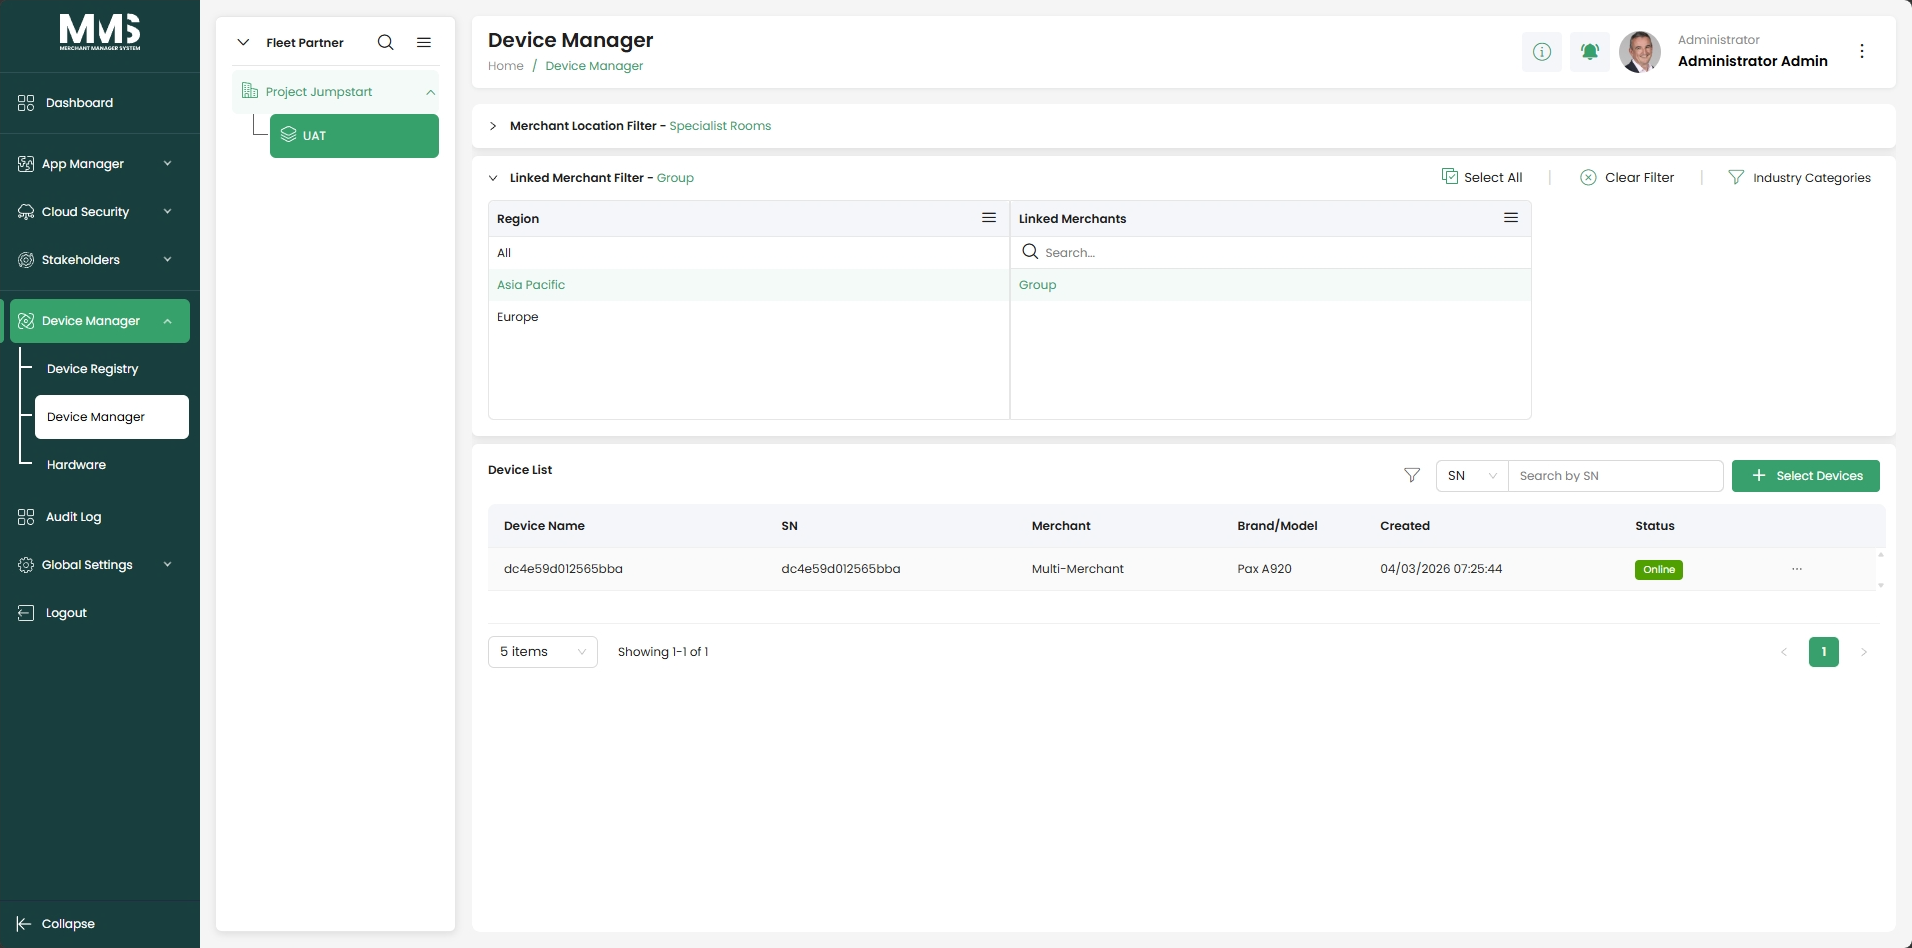
- Select devices for a Linked Merchant Group from within the Linked Merchant Filter panel.
- Devices available for selection are those already assigned to merchants within the linked merchant group.
Steps¶
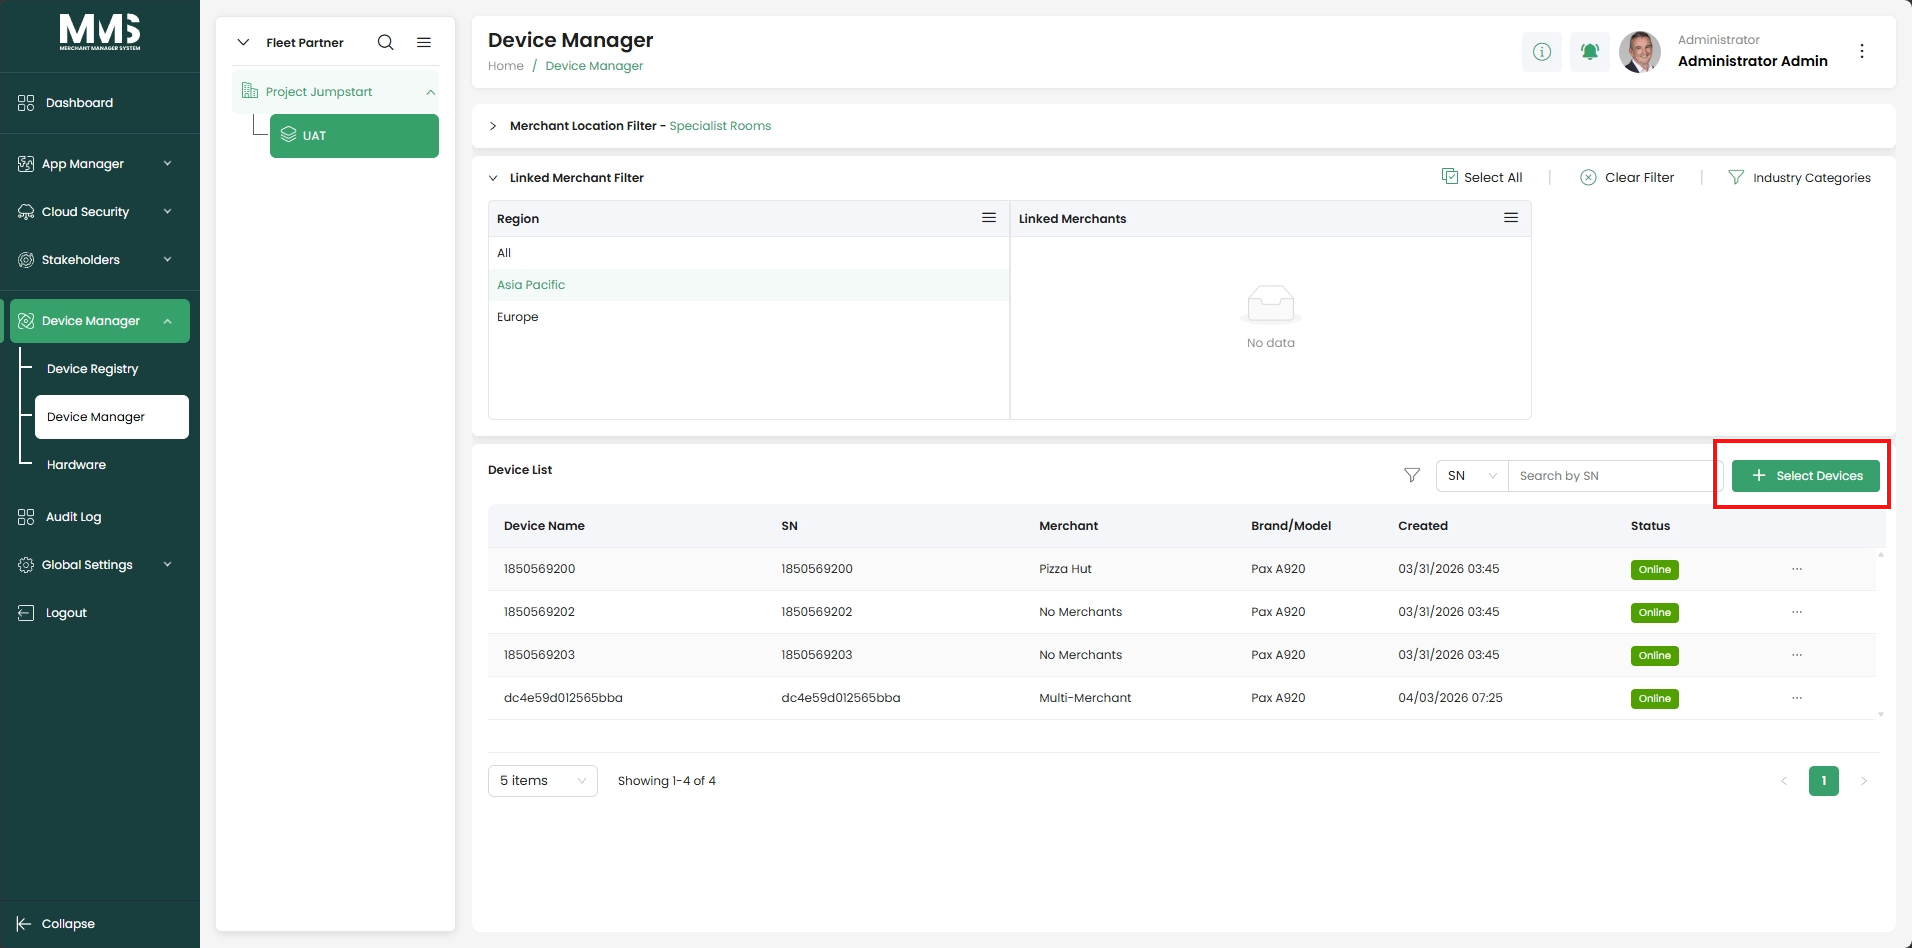
- Navigate to the Device Manager page.
- Open the Linked Merchant Filter panel.
- Select the Location that contains the desired linked merchants.
- Choose a Linked Merchant from the list.
- Click the Select Devices button.
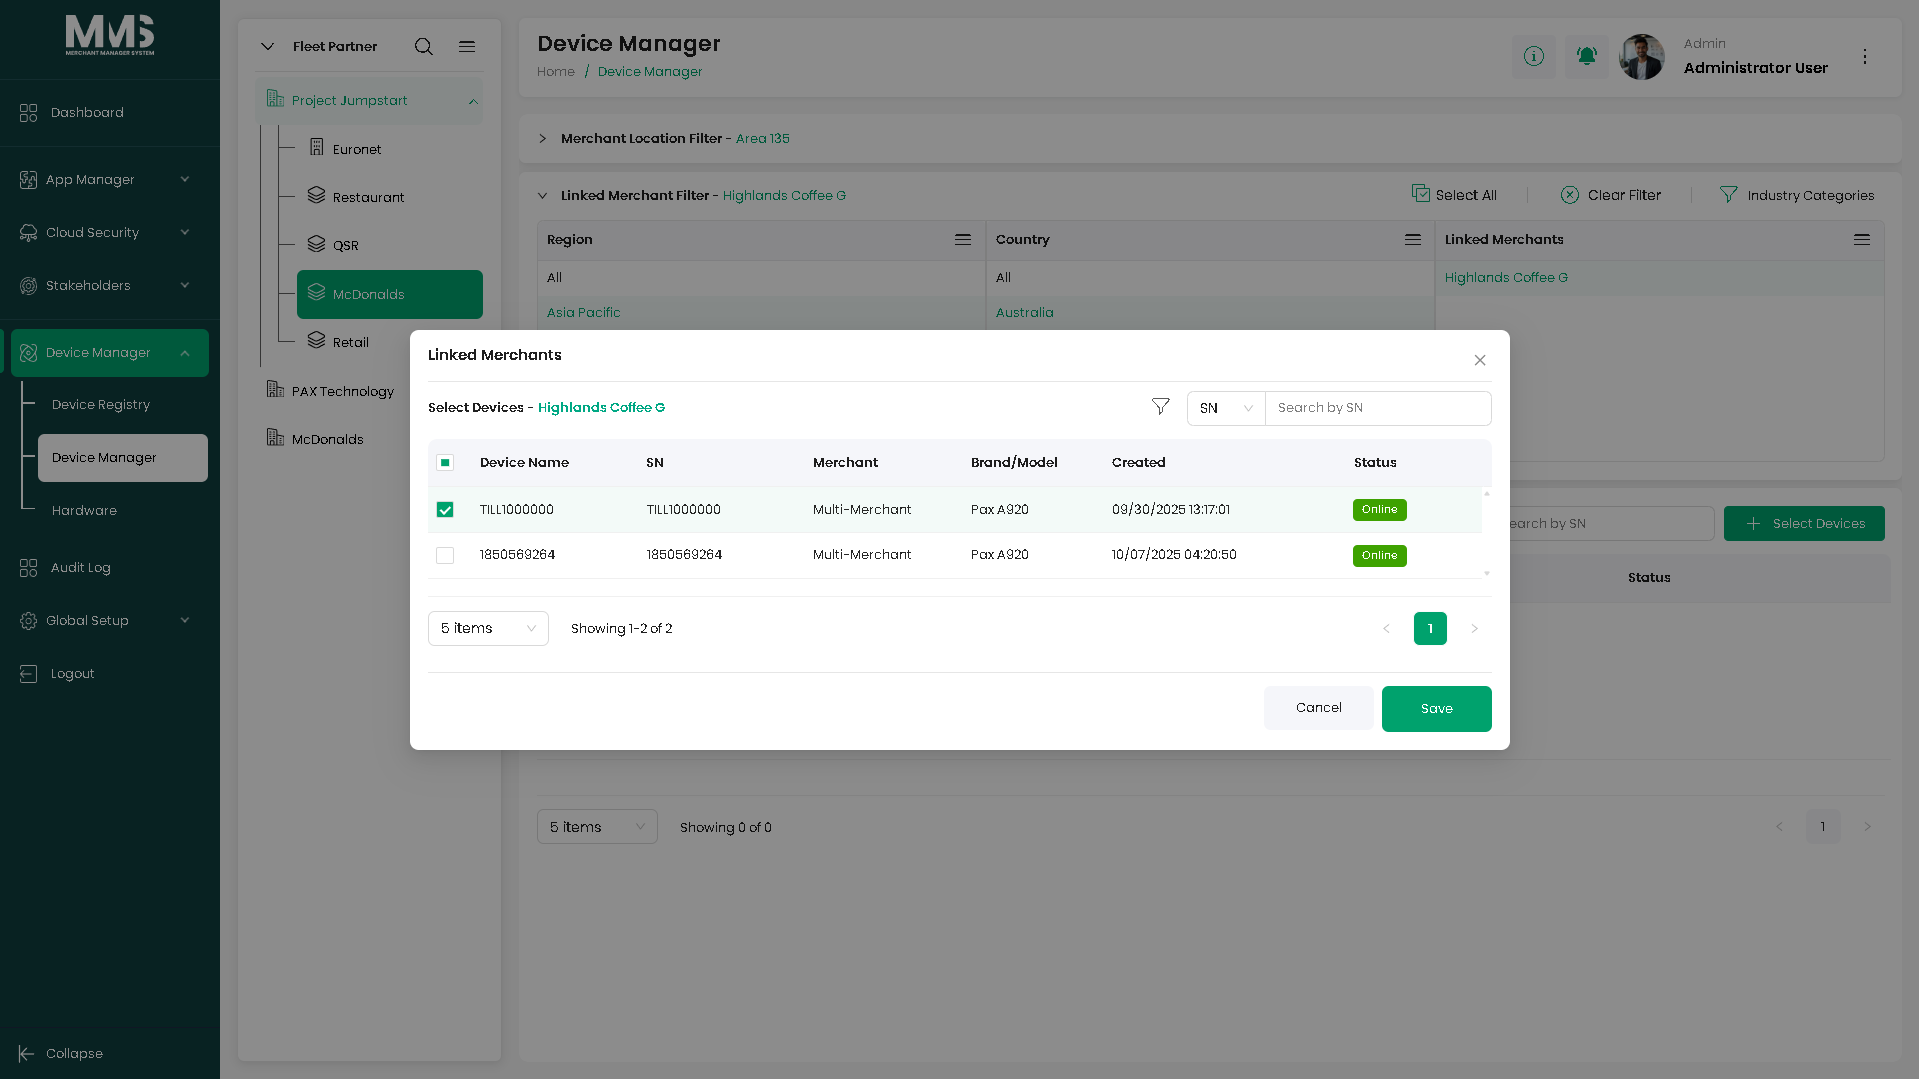
- The Select Devices modal opens.
- Select the devices by checking the corresponding checkboxes.
- Click Save to complete the selection.
Linked pages¶
- device-manager — parent overview page
- ../specs/mms-userguide-v2.5 — User Guide §3.2.5
- device-manager-linked-merchants — linked merchant groups created here
- device-manager-assign-device — devices must be assigned to merchants first (via Assign Merchant step)
- device-manager-location-tree — location context for the linked merchant group
Screenshots¶
Status history¶
- 2026-06-03 — new feature; first documented from
raw/specs/MMS_UserGuide_v2.5.0.0.docx§3.2.5; not present in features PDF v2.5